When it comes to household projects it always seems like I have several impromptu projects arise as a result of a current project. For example, the simple project of cleaning up the garage has spawned at least a ½ dozen projects since its introduction to my “to do list” during the spring of 2011.
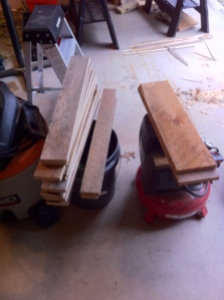
I have had to install two different sets of adjustable shelving, one of which was installed after tearing down the former owners poor excuse for shelving. That poor excuse for shelving, turned into a bunch of wood that I could not toss into a land fill, and since spawned a couple raised bed frames and the topic for this post a prototype for a planter.
First a quick note, when it comes to this type of woodworking, I don’t create detailed plans that are specifically dimensioned or designed. I work off a concept and refine the project to the materials I have on hand, as the project comes together. Below you will see my sketch on a napkin. I am perfectly capable of working off plans, but this type of activity is more stimulating for me. I had to tweak the dimensions of the concept to work with the available salvaged wood. The final design still needs to be tweaked but overall, not bad for 3 hours.
Concept – 12”x12” planter box 16”-18” tall.
Materials – Utilize salvaged rough sawn shelving boards and scrap from a previous raised bed project. Fasteners used include 1-1/4” brads for speedy assembly, and torx exterior screws 1-1/4” & 2” for strength.
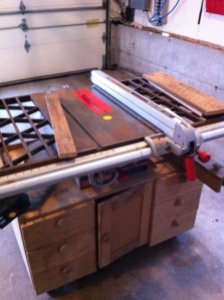
Tools – table saw, chop saw, brad nailer, screw gun, speed square.
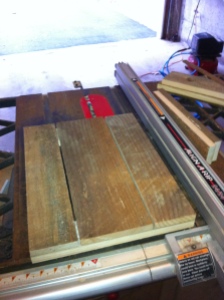
I tend to mill my wood as I go, running all similar materials at each set-up. For this project I ripped all the vertical side boards first and came up with a width of one side which was 12-1/2”. From here I tried to pick a proportionate height of the panel which worked out to 16”. Next, I attached the vertical side boards to a horizontal stretcher at the top & bottom of the panels using brads.
Once I established the width of the panel, I needed a depth of the box that would work with my materials. With the materials I had this necessitated a 9-1/2” stretcher between the two side panels. I toe-nailed the stretchers into place with brads. The brads temporarily held the end panels together while I clamped the box with some bar clamps.
I finished installing the vertical side boards and now I have a 4-sided box. From my original concept I wanted to do an L-shaped top trim piece to conceal the end grain. I did a small mock-up with some scraps and chose an alternative approach using a top cap with a 2” apron. I mitered all the trim boards as I went.
Once the top cap was on I thought the planter looked a little top-heavy so I added a 2” base trim to balance out the design. Note – before I attached the apron and the base trim, I screwed the side boards to the stretchers with screws to tighten the box up. All that is left is to line the planter with some filter fabric, soil, and plantings. Is it spring yet?
Now that the prototype is completed I am letting the end-user (Wen) kick the tires on this design before we produce a couple more. I already want to tweak some dimensions and add some chamfers to kick the visual appeal up a notch without increasing difficulty or production time.


