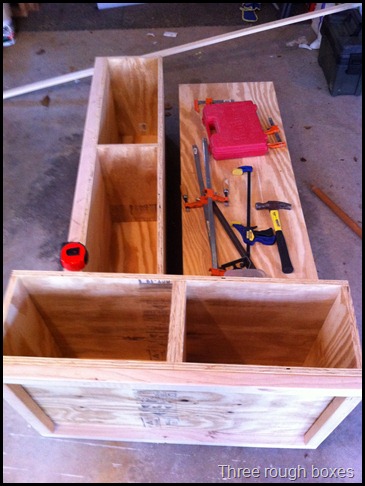
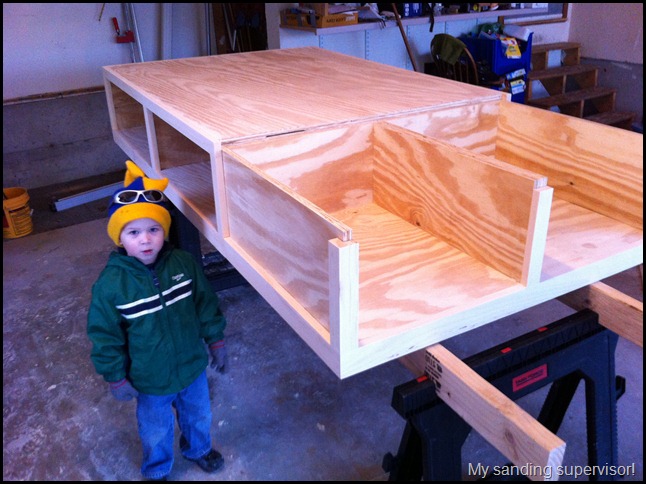
With the three plywood boxes completed last weekend it was time to focus on trimming them out.
Since the boxes are to be painted, I am staying cheap and trimming the boxes out with pine. Another trip to Lowes and I picked up two 1×6’s and three 1×2’s.
The 1×6’s I will rip down to a hair wider than 2-1/4”. These rips will be used for the base trim at the bottom of the boxes. I would have bought narrower boards but the selection of 1×3’s were pretty bad, and there always seems to be a nice big stack of 1×6’ for me to flip through. The pine guy at Lowe’s probably hates me, but they really need to cull a lot more of the wood they try to sell! The selection of 1×2’s was better and I took my time sorting through the stacks to find mostly clear wood that was fairly straight. With the trim in hand it was time to get to work.
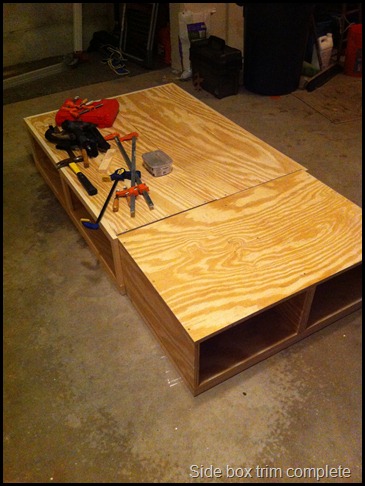
Trimming out the two side boxes was fairly straight forward. The top or head of the bed is against a wall so I went with all butt joints. I started at the bottom on the longest side of the box extending the 2-1/4” wide trim a hair longer than 3/4” on each side of the box using a scrap piece of 3/4 stock as a guide. This will keep you from seeing the butt joint on the side because the joint will be at the head of the bed next to the wall. The purpose of extending the trim 3/4” on the foot side is to hide the joint where the two side boxes meet the foot box. I nailed all of the trim on with nails and wood glue. I thought about using some biscuits as well, but this project is time sensitive, so the biscuits were Value Engineered out of the project!
After the base trim was complete I did the top trim, which was 1-1/2” wide following the same procedure above. The boxes are designed to have the top lids removable via screws for access inside for sanding, painting and possibly adding drawer hardware at a later date. This means it’s important when securing the top trim as well as any vertical pieces of trim to make sure not to nail or glue the top trim to anything but the top lid for obvious reasons.
I used the 1-1/2” trim for the vertical pieces as well. For the corner at the head board I ripped a 3/4” x 3/4” piece of wood and attached it to a piece of 1-1/2” stock to make an L-shaped 90-degree corner. I could have mitered the wood and achieved the same result, but time is a factor on this build. Once again, I oriented the joint of the corner so it was towards the head of the bed which will be up against a wall and not seen. The middle vertical is a 1×2 centered on the plywood divider. The piece towards the foot box is also a 1×2, but as with the trim, I extended it 3/4” onto the foot box attaching it only to the side box. This will allow me to slide the foot box up against the two side boxes and the trim conceals any sins of the builder.
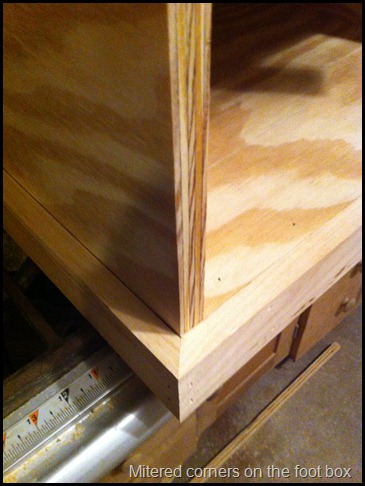
With the foot box, I had no choice but to kick up my trim skills a notch. Actually, I could have gotten away with butt joints, but where this corner will be the one you always see as you come into the room a mitered joint was the only way to go. It takes a little longer in saw set-up, but it’s worth it. I followed the same steps above doing all my base trim first, followed by the top trim, and finishing with the verticals.
I made the corner verticals the same way as before, making L-shaped 90-degree corners, however I spent a little more time selecting wood that when glued tight together wouldn’t show the butt joint of the two pieces after it was painted.
With all the trim complete it was time for a mock-up on my “not so level” garage floor. I did a dry run, temporarily assembling the boxes using 3” screws underneath the boxes on the 2x sub-base and a couple screws at the back of the boxes. Everything seemed to come together better than I thought.
Now for everyone’s favorite part in the furniture making process sanding and prepping for paint. This involved another trip to a store for materials. Surprisingly, I don’t have any wood putty on hand, can you believe it? Because we are painting this thing I just bought standard Elmer’s wood filler and hit all the nail holes as well as any imperfections in the B/C plywood, knots in the trim, and any butt joints that were not uber perfect.
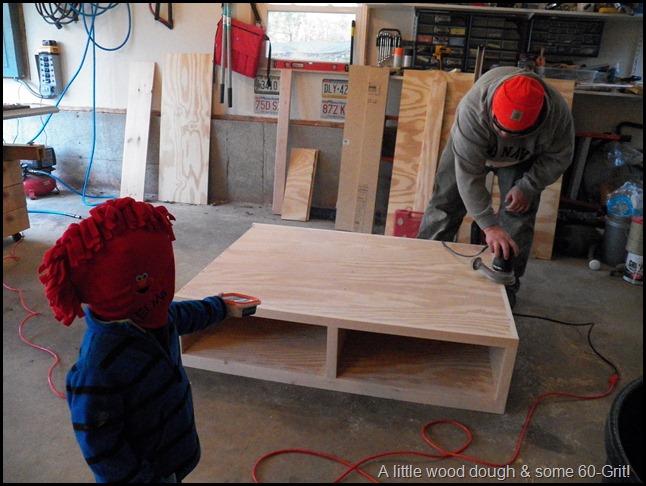
When the putty dried I hit all the trim and the exterior plywood with good old 60-grit sand paper. Nothing fixes a mis-aligned butt joint better than 60-grit!
With the exterior sanding complete and all the joints aligned via sand paper it was time to get everything at a good working height, pop the tops of all the boxes and finish sanding the interior of the boxes with 60-grit.
All that’s left now is to run the grits! A step that my wife is not that fond of, because of the time involved, or her lack of woodworking patience. After all, it’s not that hard to sand through 60, 100, 150, & 220 grits and hit the whole thing with compressed air and a tack cloth and boom you are ready for paint. The end result is really much better when you do it right!
Just a note – I will be sanding the interiors because the drawers may or may not be added at a later date. We are still on the fence about cubbies versus drawers, so I may only install two drawers in the foot box to start. The side boxes would be left open with cubbies, but I will need to see how much time I have over the holiday week coming up and how flexible the end user will be…

