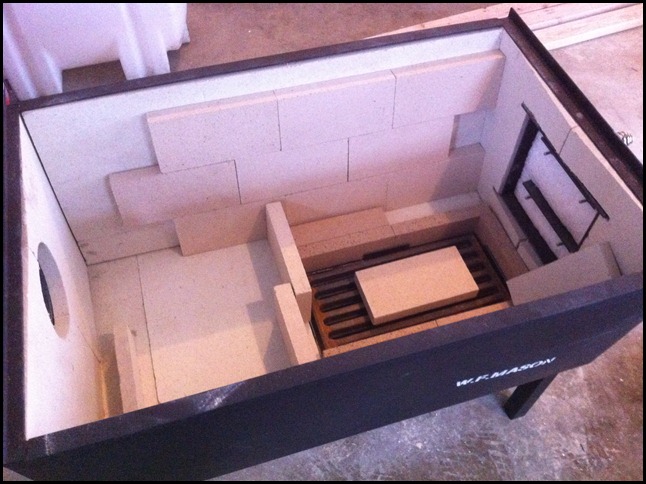
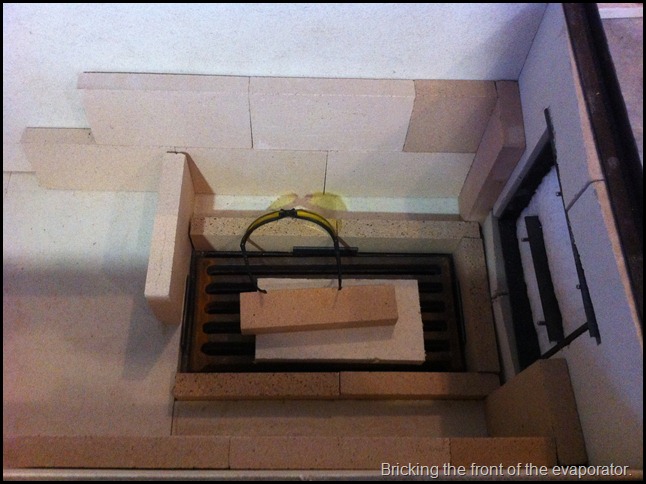
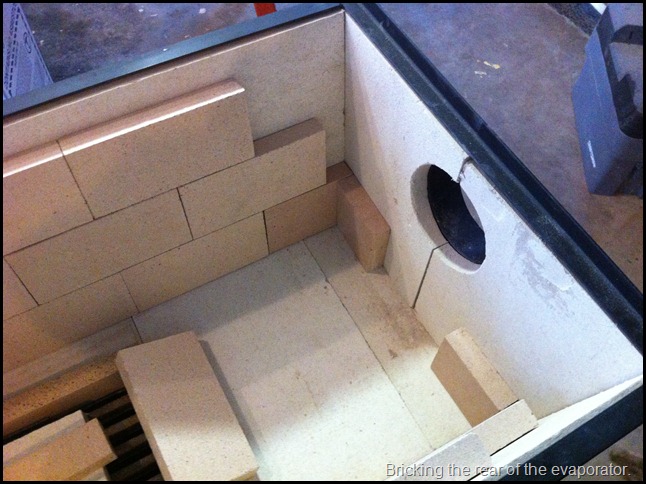
The last post left off with me completing the installation of the arch board in my new Mason Evaporator. After mocking up some brick layout below it was time to cut! As with the arch board I started from the front and bottom and worked my way to the top and back. The fire brick or splits as mine are often referred to are 1-1/4” thick, 4-1/2” wide and 9” long. They line the arch and protect the fibrous arch board from damage from loading wood. They are like a light weight version of a brick but are made with specific materials to withstand the high temperatures of a wood stove or evaporator.
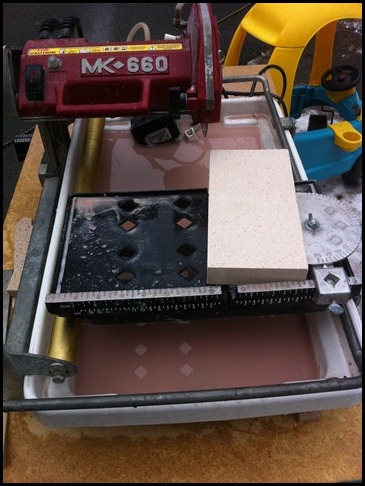
The tile saw – I was fortunate enough to be able to borrow a pretty decent tile saw that cut the bricks easily. Like with any tool that I own, I took my time and went slow. It’s important to go slowly and let the diamond blade due the work of cutting the brick.
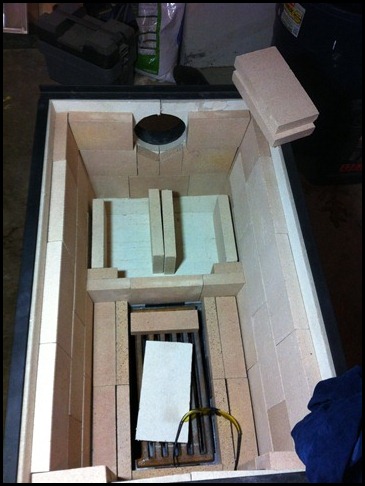
I pretty much cut bricks as I went. Starting at the front with a couple angled cuts I was able to start the sides. The sides are installed using running bond, and everything is dry fit and held in place with gravity, and other adjacent bricks. I will be boiling outside (no sugar shack) so I need to move the evaporator inside after the season is over. To do this I need to be able to lift the evaporator which means taking the bricks out at the end of the season. This required me to think a little more about how to hold the bricks in place without using fire cement. I spent a fair amount of time mocking up and laying out the bricks to accomplish this.
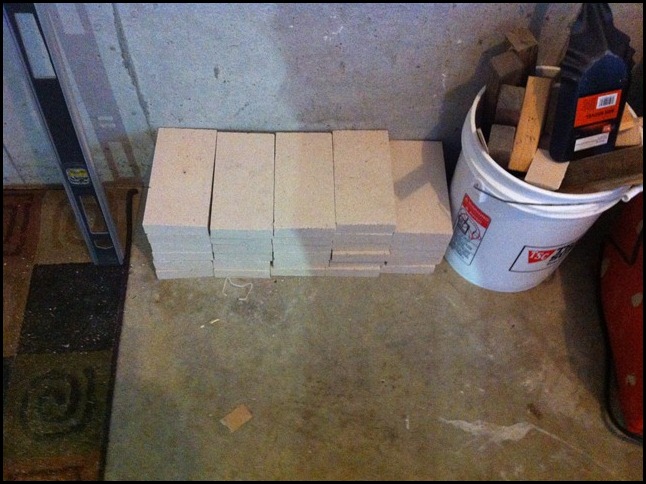
A dwindling pile of fire bricks.
Towards 4:00PM Saturday I had reached a good stopping point and had to catch up on some other chores around the house. I had bricked the front, back, sides, and the lower portion of the floor of the evaporator where the wood fire will be by the ash grate. Towards the back I am in the process of laying out the step which will help keep the flames and or hot exhaust gases up towards the bottom of my syrup pans, in theory of course. I spent about 7-hours Saturday and probably have another couple hours Sunday to complete the bricking.
This has been an intense process, but very fun. Almost like building your own jig saw puzzle. I am glad I am doing this now and not when the sap is flowing!

