Last time I left off with the intermediate trim piece being mocked-up with the second tier raised panel. Now that I decided that is how I wanted to proceed it was time to miter the trim and fasten it to the lower tier. I used screws here to attach the trim to the sub frame and glue and finish nails to secure the miter. The goal for this project is to build everything so it can be disassembled in the future. This will help when I am ready to sand the whole thing out and it will help to get the headboard up to the second floor bedroom.
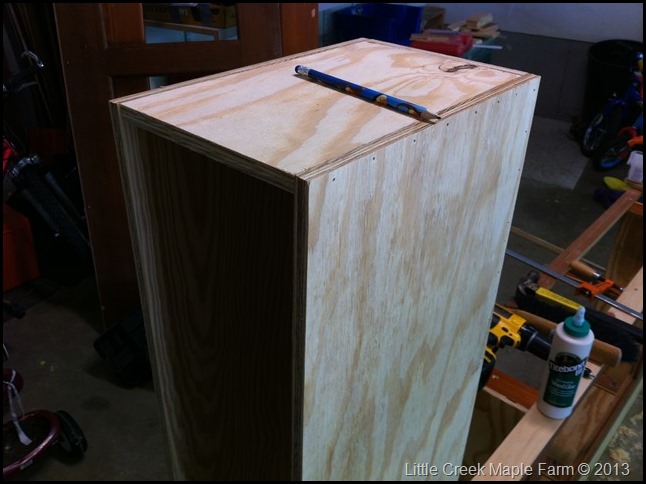
With the transition between the lower and upper frames complete, I spent some time working out the upper sub-frame assembly. If you refer back to the original sketch you know the upper frame is going to have open shelving at each end that is accessible from the sides of the headboard. Because these are two key elements that need to be the same size this is where I get started with the upper frame. I used my arm as a guide for the depth of the shelves and felt like 12” was sufficient depth to stuff a lot of junk in the shelf but not overly deep where you could not reach it comfortably by not going past your elbow. Once again because I am rouging out the sub-structure and not stopping to sand things I needed to leave this box accessible for me to sand at a later date. So once side of the case was glued and nailed with brads and the backside was assembled without glue using counter sunk screws.
With the left and the right side Shelving boxes complete with the exception of the bottom shelf (which I want loose in eth final project) and the middle shelf, I temporarily laid up the upper raised panel frame to I could get the correct dimension between the two shelf boxes. With everything clamped in place I will begin to build the ladder frame similar to how I built the lower frame.
Below is another view which shows inside the shelving units. Notice how there are no shelves, yet…One other tip, make sure you are always mindful of putting the good veneer of your plywood facing the inside of the shelving unit, sounds straight forward, but you would be surprised what you forget when you start assembling.
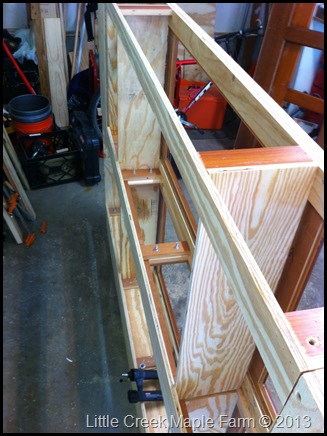
I don’t have a lot of step by step ladder frame assembly pictures, but the same process from the lower frame assembly still holds true. I have a bunch of 2-1/2” strips attached to end panels and intermediate vertical panels and I have the same hardwood spacers at the top and bottom of the ladder frame which I use to thru-bolt the lower sub-frame and the upper sub-frame together. The two pictures below one showing a view from the front and one showing the view from the back illustrate the end result.
With the ladder frame complete and the upper sub-frame secured firmly to the lower sub-frame< it was time to go back to the shelving units. I have an electrical outlet that will be behind this headboard so I have been leaving it hollow for being able to plug in a power strip and eventually a couple lamps that will sit on top of the top shelf. I will run all the cords concealed using grommets on the top shelf but plugging stuff in will be a real pain when this gets attached to the wall so in order to access the wall outlet and power strip I will need access from the side of the headboard. My solutions is a removable bottom shelf at each shelving unit. So I use a couple of 3/4” thick plywood scarps that are 1-1/2” wide by 7” long and attach them at the front bottom edge and back bottom edge of the shelving unit. The purpose of these strips is to help raise the 1/2” thick bottom shelf off the hardwood transition strip to give me some depth when I trim this unit out. for now I am leaving the bottom shelf loose. The middle shelf is fixed with some screws after the location is confirmed with the lead designer.
Current front view of the headboard starting to take shape below.
With the shelving units and upper sub-frame complete the next step will be a small sub-frame to support the decorative crown molding and top shelf. Following that I will need to finish up any minor assembly items like prepping the frames with holes to allow power cords and wiring to run horizontally within the panels, drilling grommets in the top shelf, test fitting the raised panels, and trimming the sides of the unit out. After that, sanding, priming, more sanding, and paint..


3 comments on “Headboard 2.0 – The Second Tier”